

It’s your friendly KF on KND Editor April Hamilton here, continuing this week’s series about the new, 5th generation line of Fire tablets.
Today I’m sharing information about the system screens and tablet controls. My observations are based on testing a Fire HD 8 (the one pictured at left), but the new operating system is the same across all the new models so what you see here should be applicable to all the new Fires.
Note that where identifying details appear in the screenshots from my own tablet, I’ve placed a gray box over them; the gray box(es) will not be there on your own Fire screens.
Lock Screen
Let’s begin at the beginning. When you turn on your new Fire the first screen you’ll see is the lock screen. If you have a Fire with “special offers” the lock screen will usually show an ad, like this (click or tap on images to view entire screens in a new tab or window):
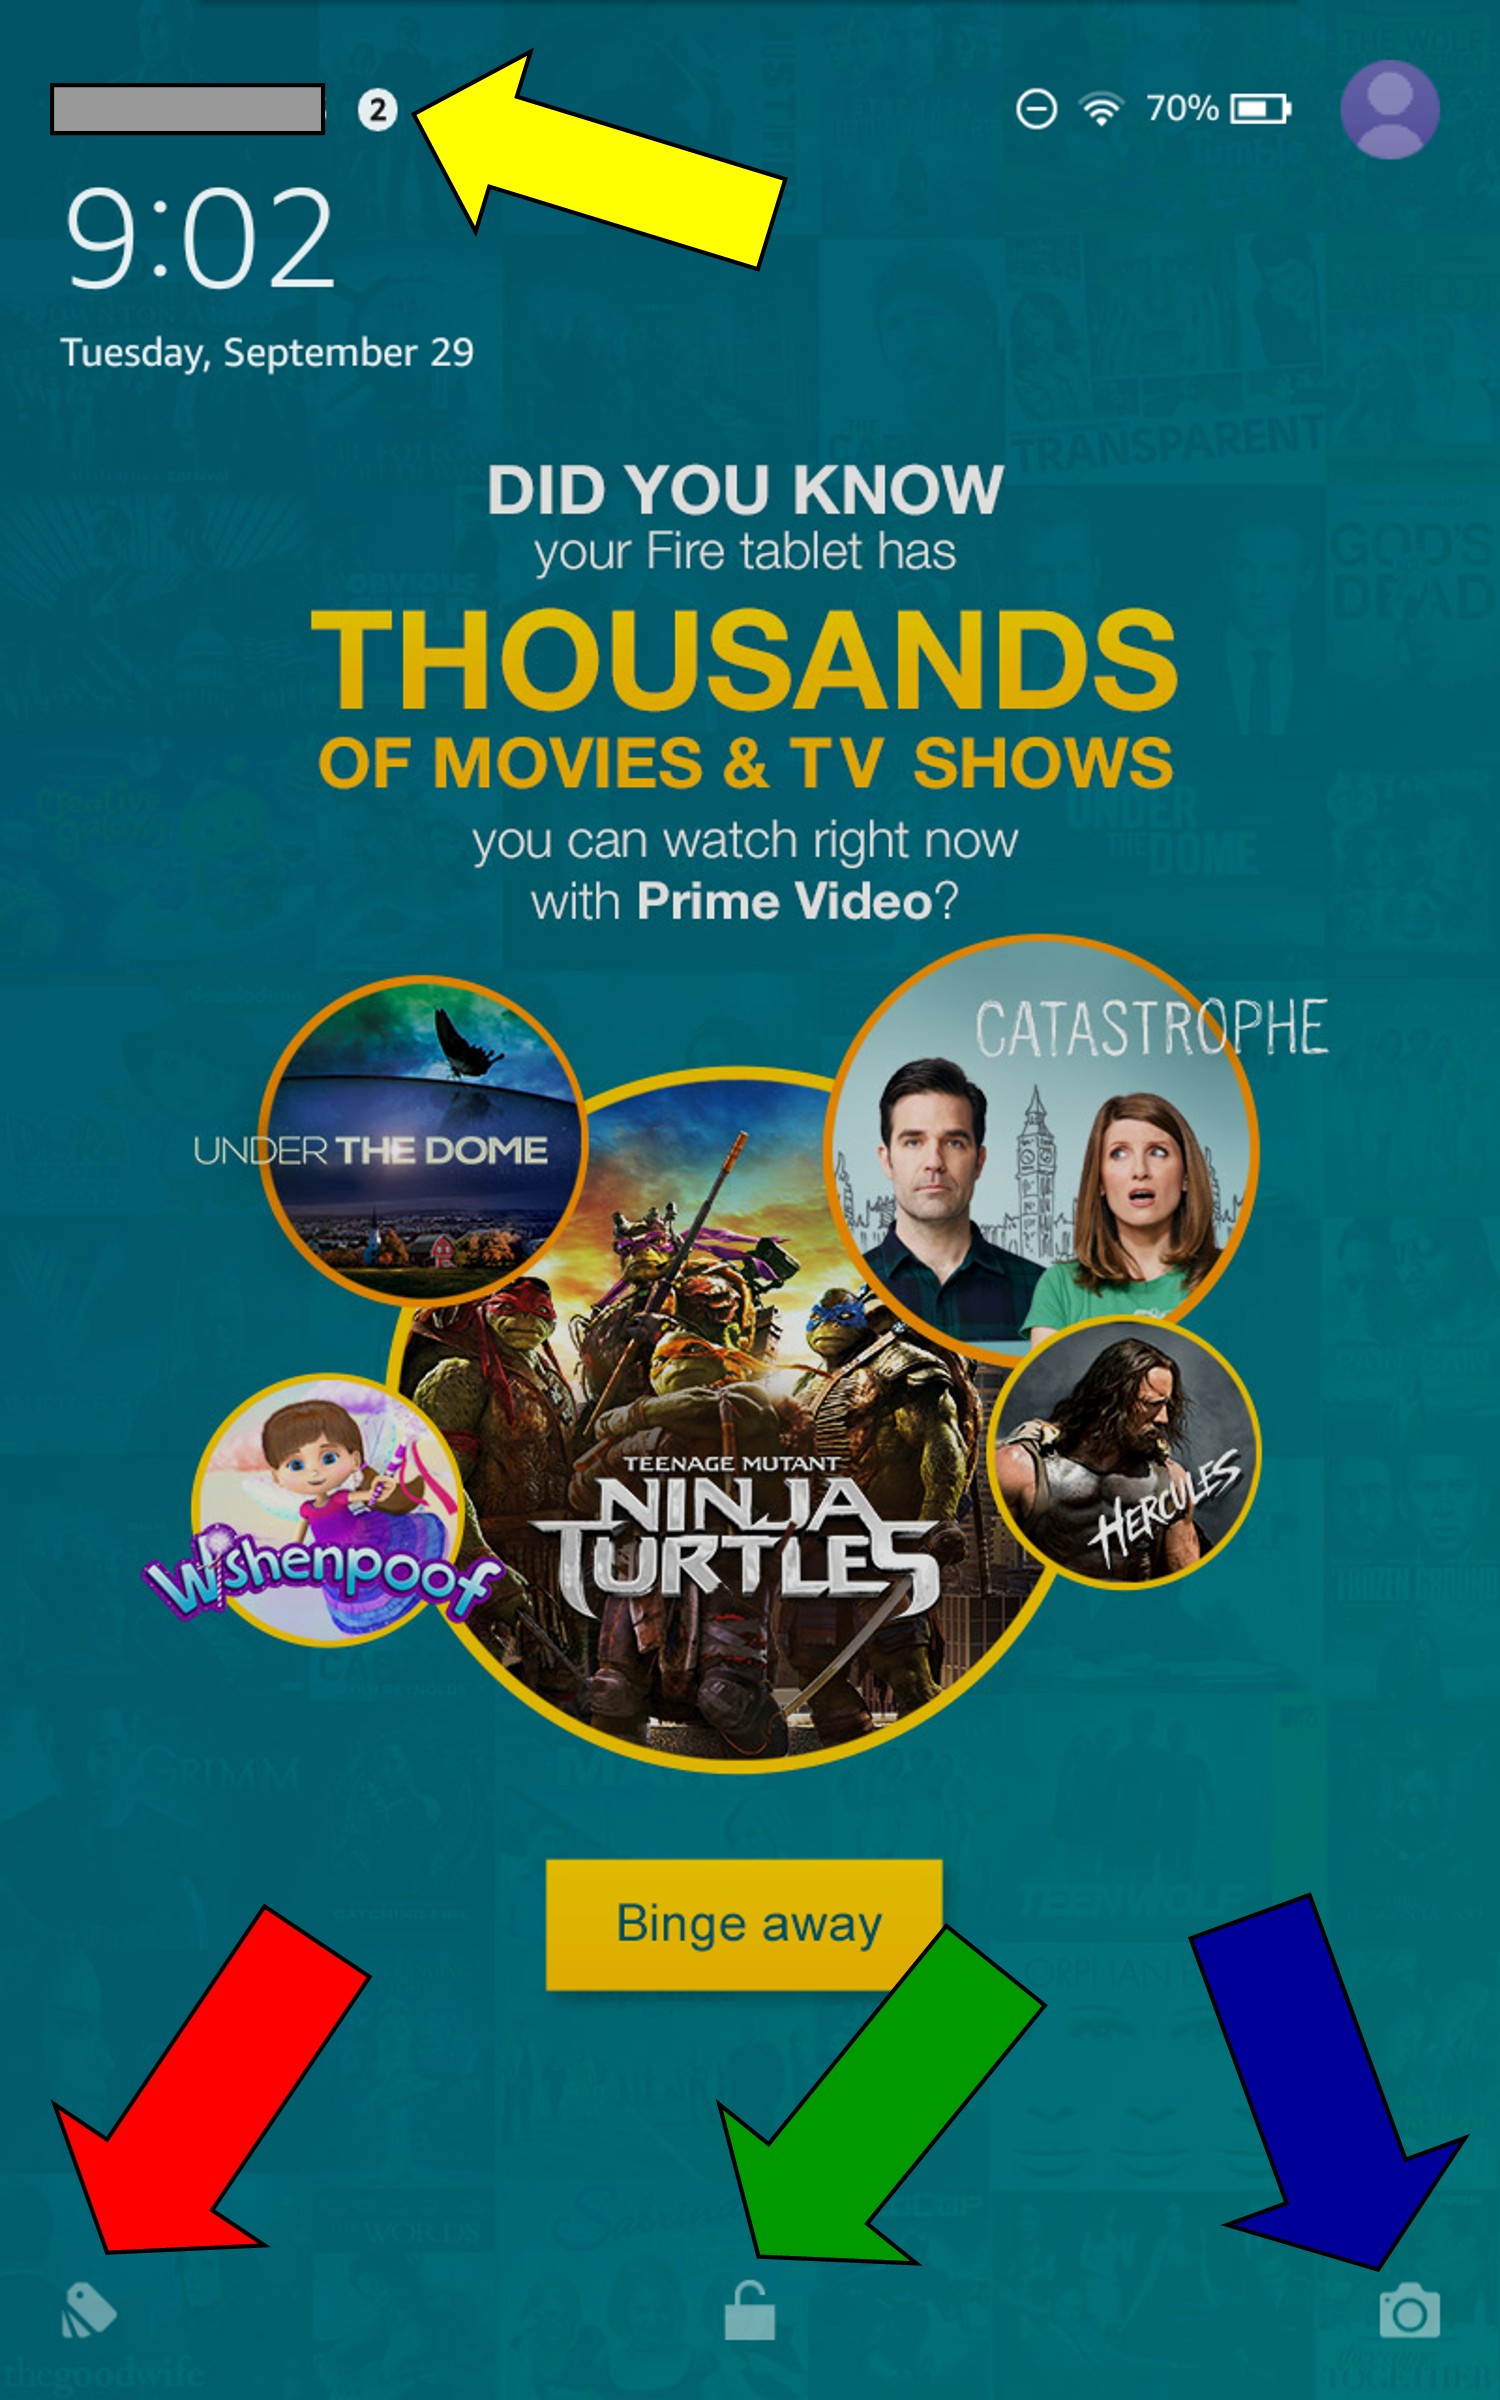
The yellow arrow above points to the “notifications” indicator, and in this screenshot it’s saying I have two notifications since the last time I turned the Fire on. These could be notifications of a system software update, an app update, an alarm (if I’ve set any), new email (if I’ve connected my email account), etc.
The red arrow points to the “special offers” icon. Swipe upward on it to browse current special offers.
The green arrow indicates the screen lock/unlock icon. The unlocked padlock indicates I haven’t set a screen lock password; if I had, the lock would appear locked. Swipe upward to unlock the screen – if you’ve set a lock screen password, you’ll be prompted to enter it. The word “charging” will appear immediately above the padlock icon when your Fire’s charging.
The blue arrow indicates the camera icon. Swipe upward on it to use the camera / videocam. The icon is here so you have the convenience of being able to quickly snap a photo or video when you like, without having to unlock the entire device first.
The screenshot below is of the lock screen as it appears without special offers: it displays a wallpaper. You can change the wallpaper by going to Settings > Display > Wallpaper. There’s a selection of nature images available, or you can select an image of your own from the Fire’s camera roll (assuming you’ve taken at least one picture with the Fire), file folders (if you’ve imported any images), or from your Amazon cloud photo collection.

Home Screen
This is the screen that loads by default when you unlock the lock screen. Notice the little 3-icon system menu ribbon at the bottom, which I described yesterday (triangle=back, circle=home, square=recent). Originally, the Home screen was filled with icons for apps and features, and I found it sort of cluttered. I decided to create a couple of folders to group most of the features/icons I rarely use; in the screenshot below, you can see the beginnings of my “Amzn Apps” grouping (instructions on how to do this are provided a little bit further down):
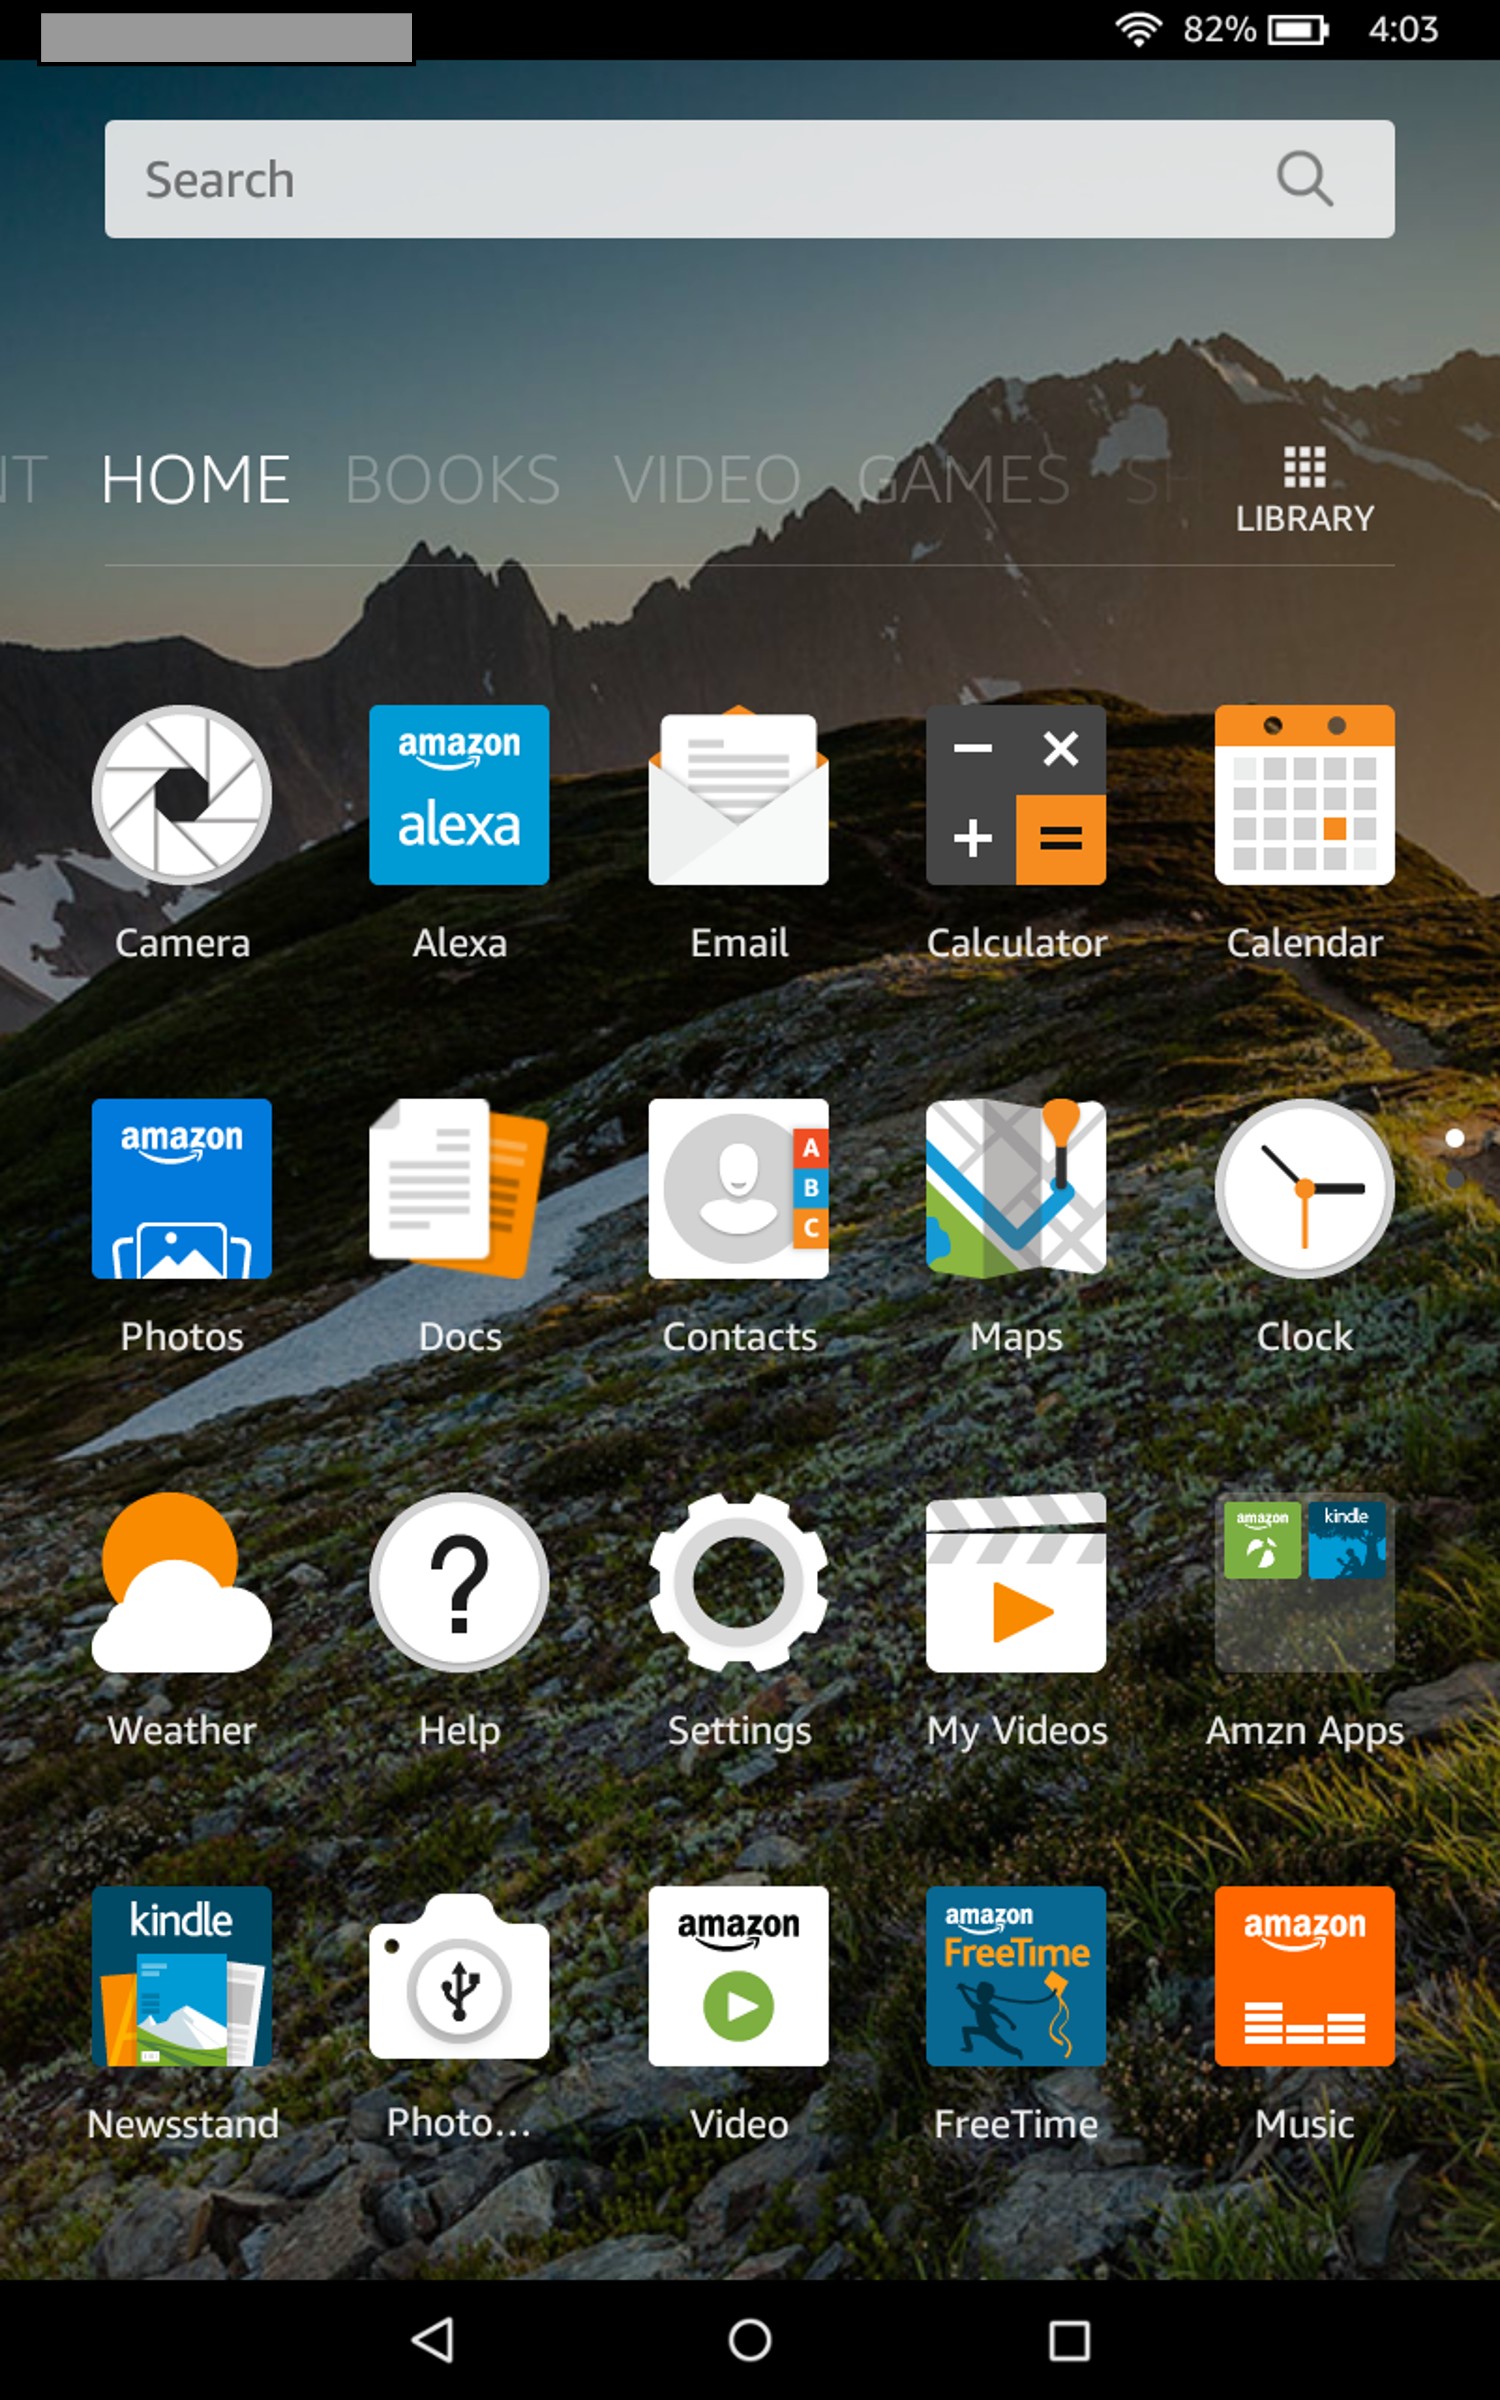
And here’s how it looked after I’d finished grouping the lesser-used icons/feature links into folders (indicated by red boxes – instructions on how to do this follow beneath the image):

In case you’re wondering, that little camera icon with the USB symbol on it is a utility for importing pictures from a USB digital camera. I haven’t used this yet, but I guess it’s for those times when there’s a graphics or photo editor on your Fire that you want to use with photos you took on a different device, or for times when you want to import pictures so you can access them from the Fire for email or social media.
To create a folder, tap and hold on the icon you want to group with at least one other icon, then drag it on top of the other icon and drop it. Miniature versions of both icons will be shown in a small, transparent gray box and you’ll be prompted to name the folder. To add more items to the folder, drag them on top of the folder and drop them. To create another new folder, repeat the same process you used to create the first one. Tap the folder icon to open it and access the icons inside of it.
To remove items from a folder, tap the grouping to open the folder, tap and hold on the icon for the item you want to remove, then drag it out onto the main screen, outside the folder box, and drop it. When you’ve removed so many items from a folder that only one remains, the folder will automatically disappear.
Recent Screen
This screen, located to the left of the Home screen (swipe right from the Home screen or tap the square icon in the bottom menu ribbon to access it), is where you will find all the content you’ve accessed most recently. At first, when there isn’t much on it, the rest of the screen real estate will be filled up with cross-promotional advertisements (e.g., “More Like This”):
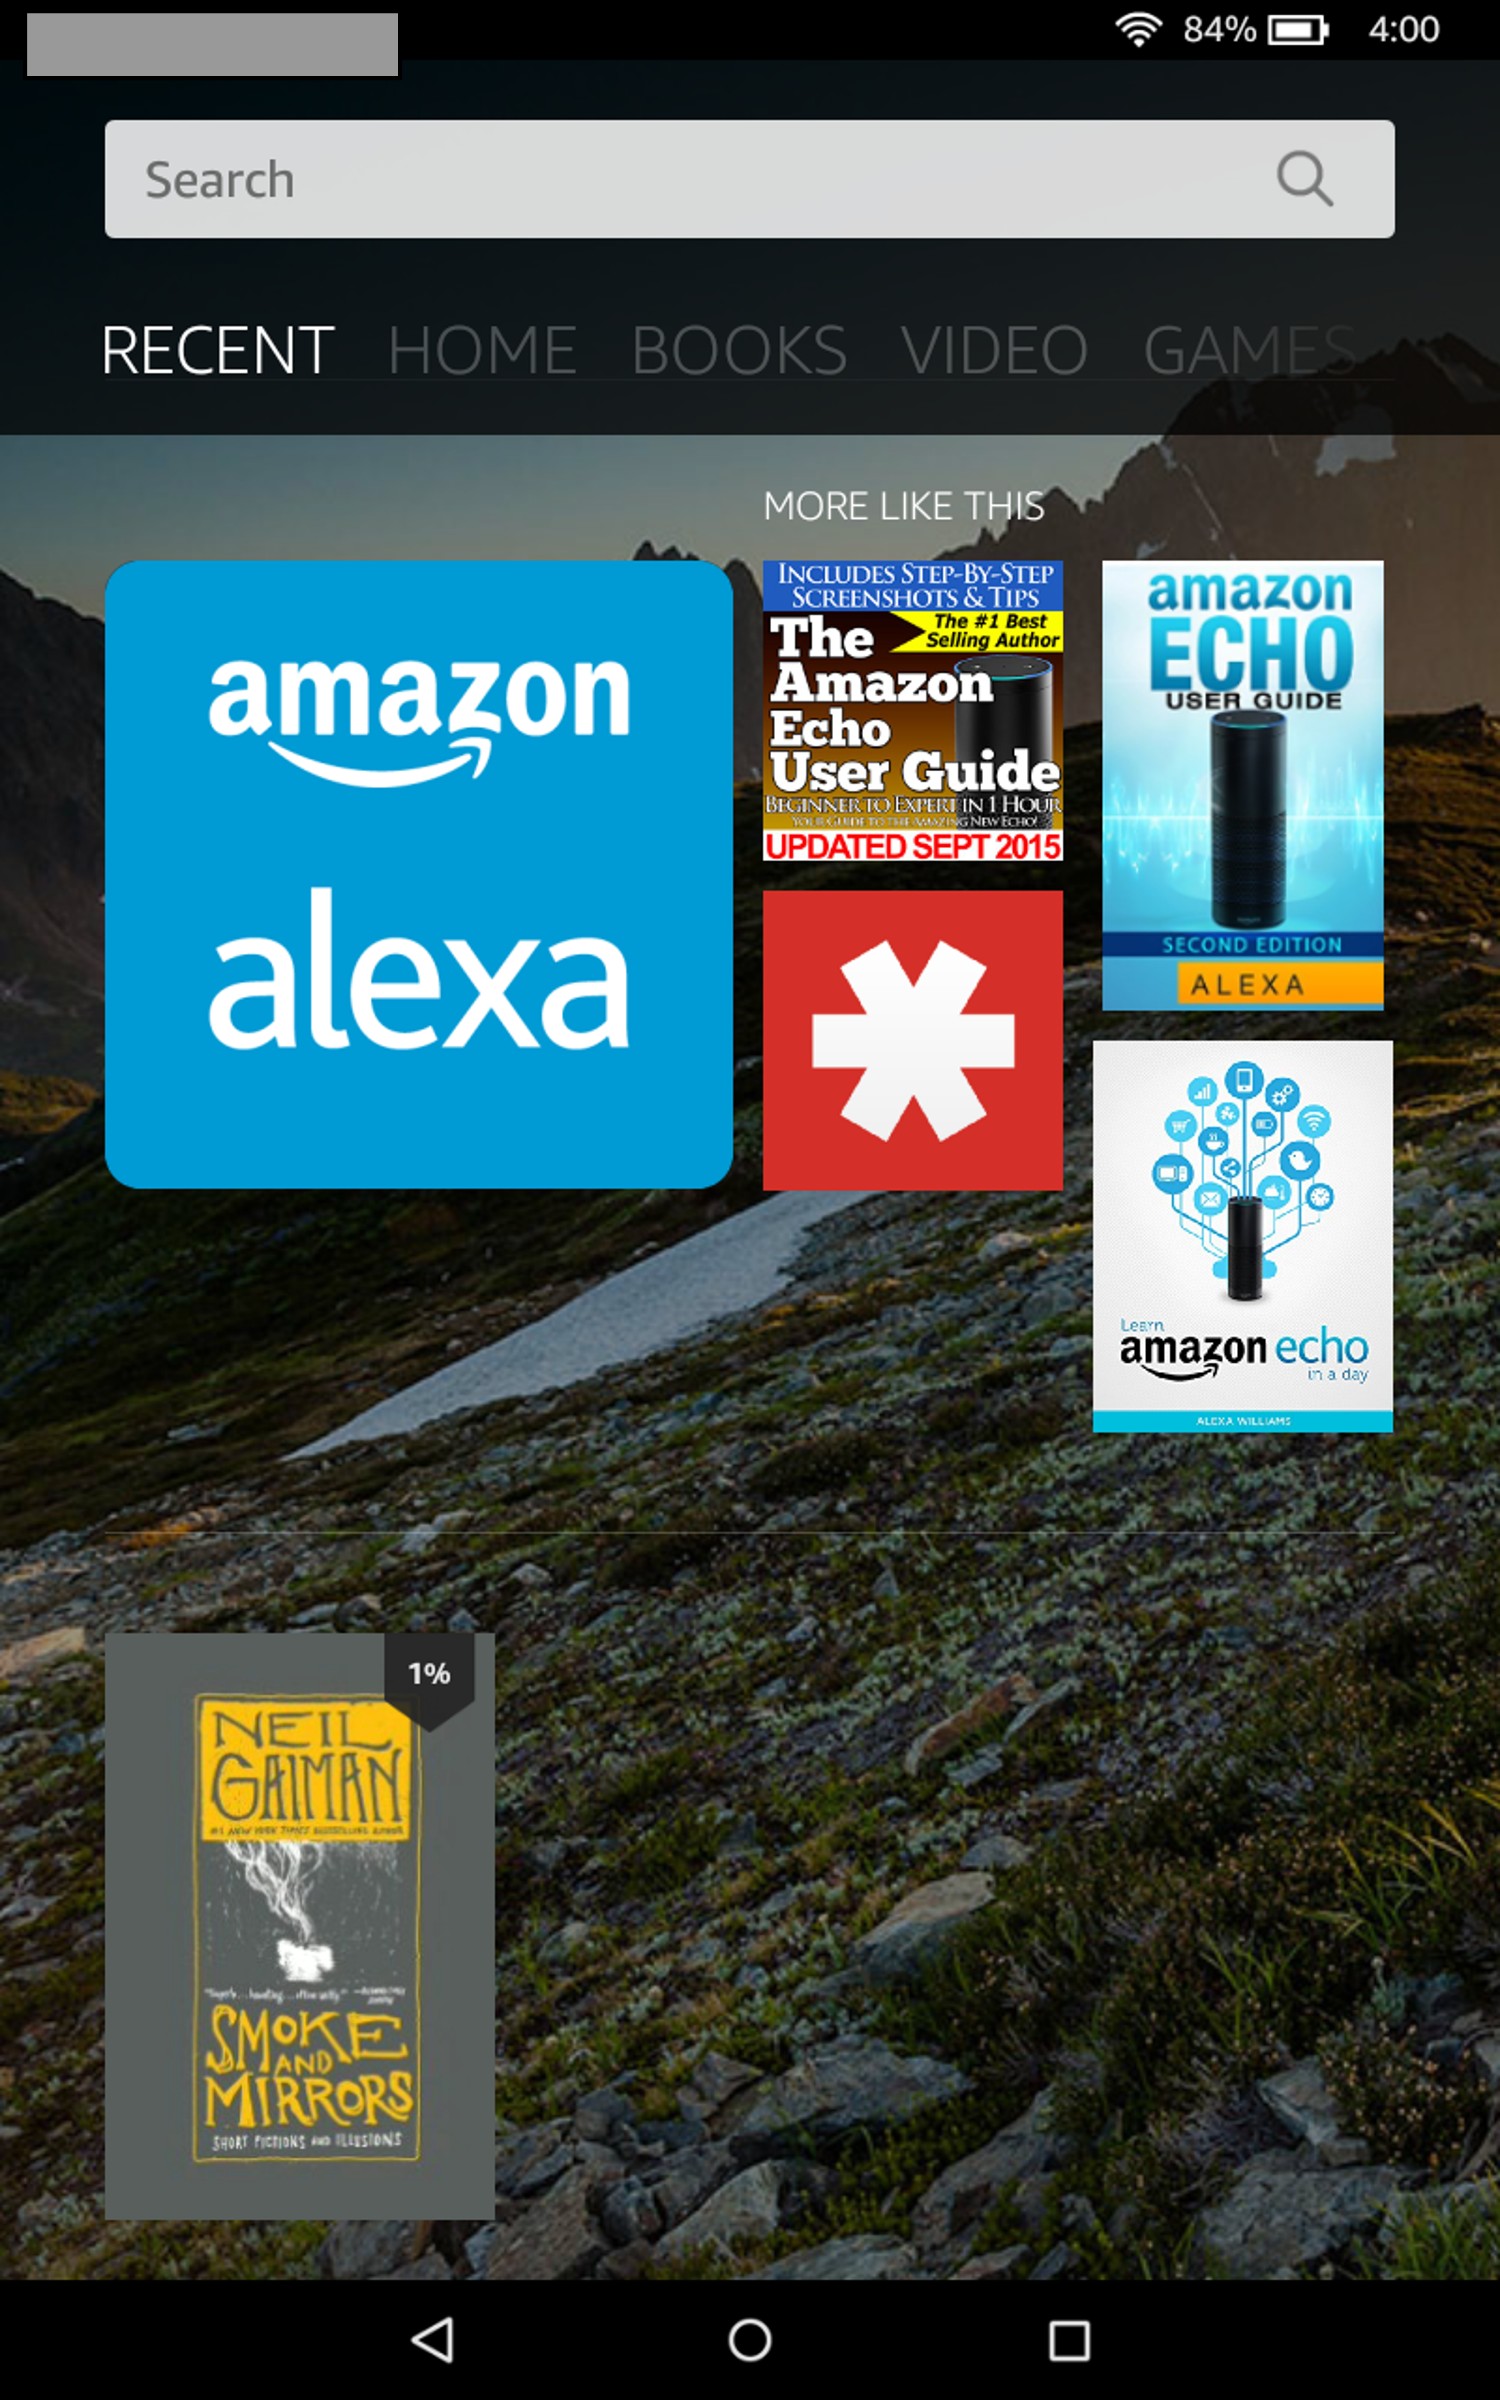
But when you’ve been using your Fire regularly the Recent screen will fill up with the content you’ve used.
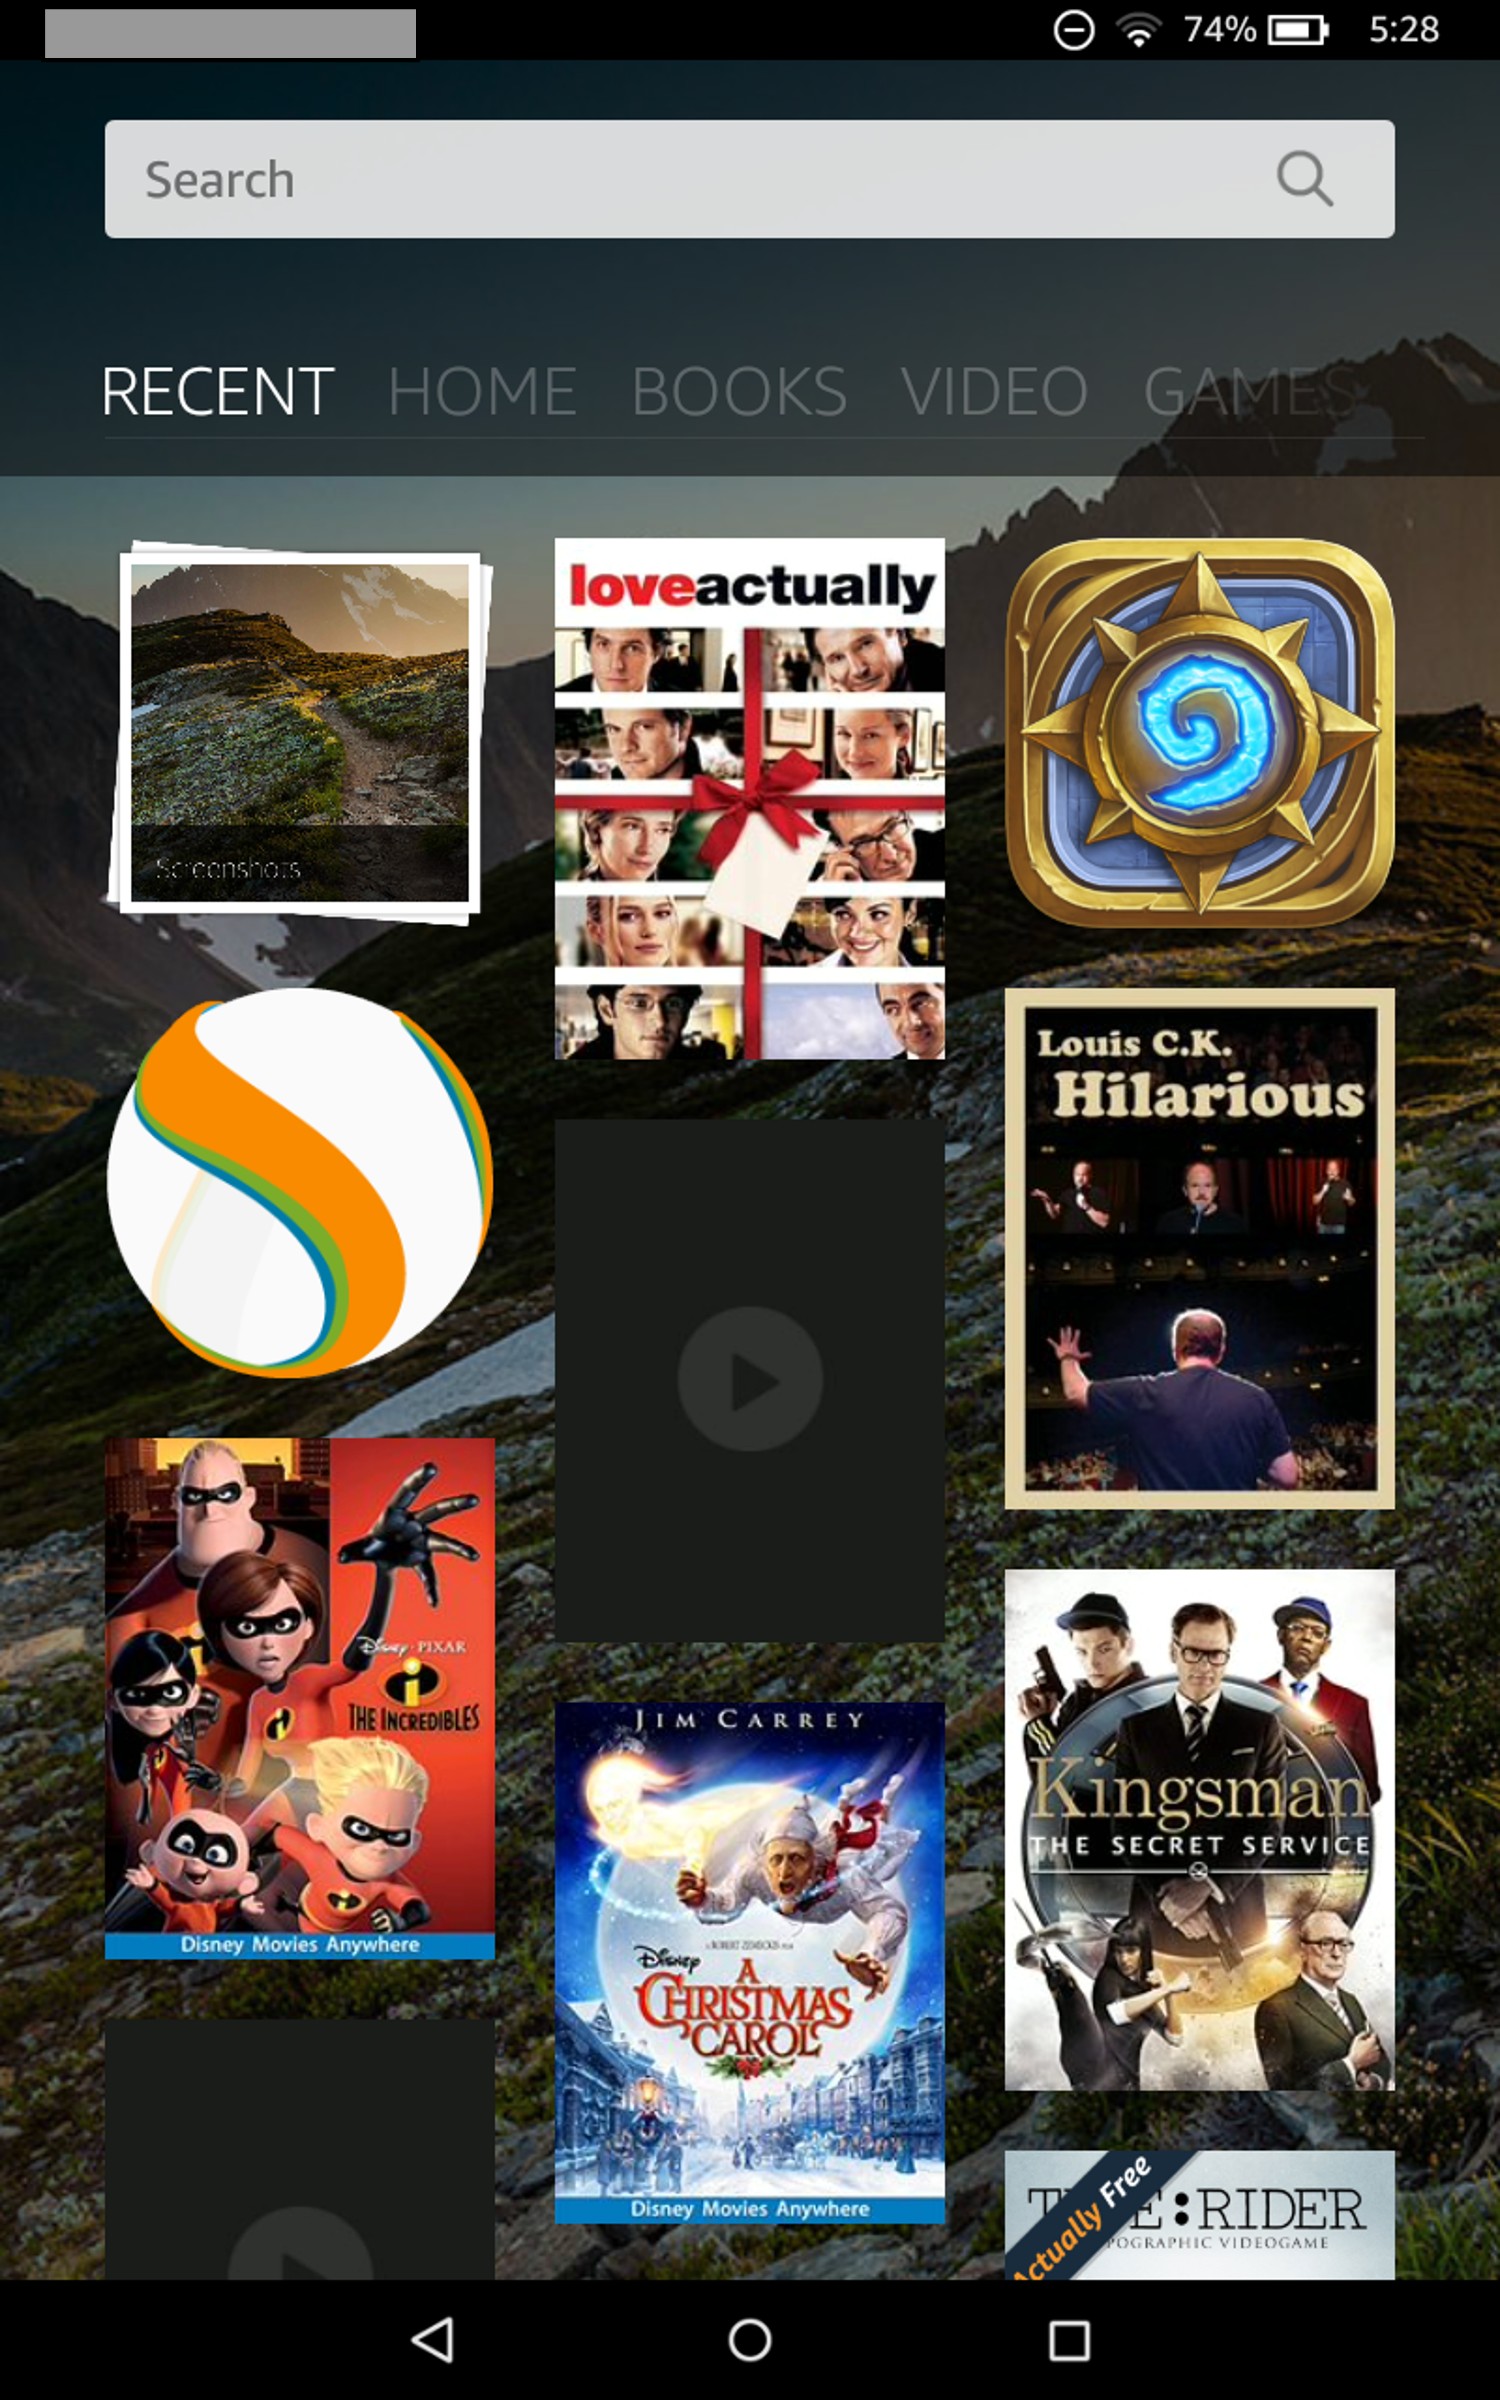
Sometimes the icons for content don’t fully populate here, and you have to tap the black content icons to see what the content for them is. Here’s the Recent screen with a lot of content on it:
System/Settings Shortcuts Menu
Swipe downward from the top of the screen on any screen to access the System/Settings shortcuts menu:
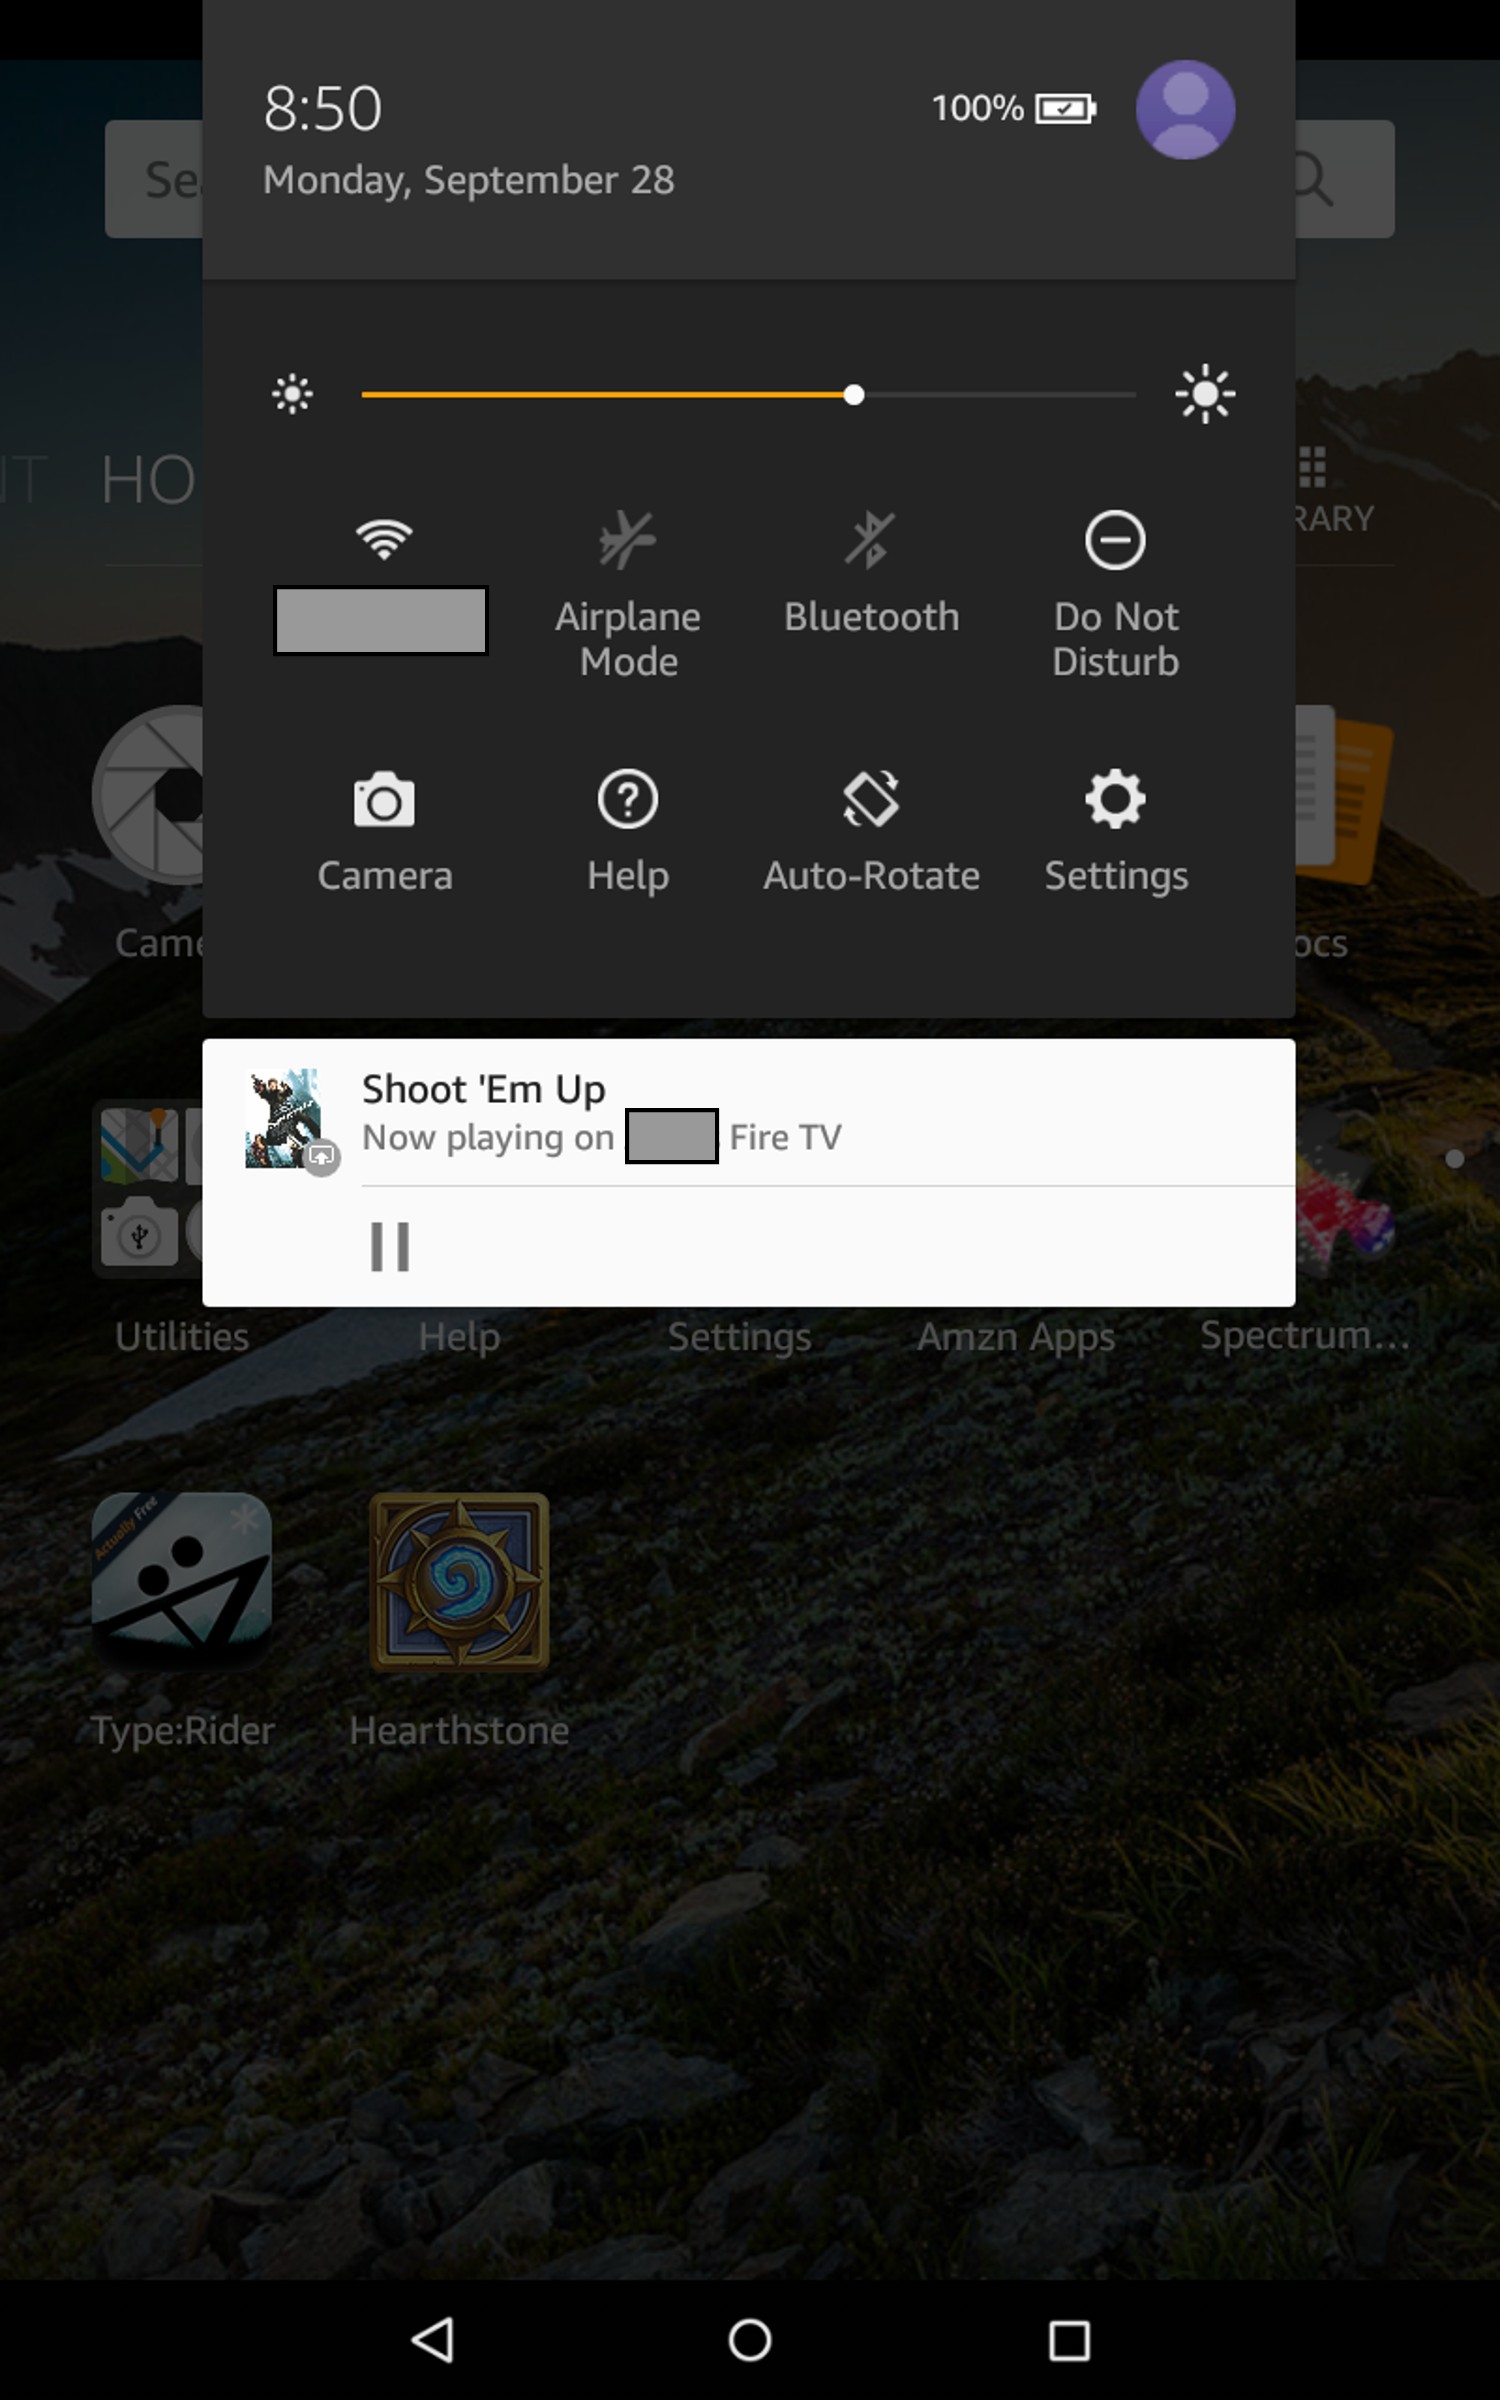
Here, you’ve got the date and time, battery status indicator, user profile icon and screen brightness slider control at the top.
Beneath that, the first row of icons from left to right are for WiFi network name and status, airplane mode selector/indicator, Bluetooth selector/indicator, and Do Not Disturb selector/indicator. Tap Do Not Disturb to toggle this feature on or off. When it’s on, you won’t hear any alert tones or receive any on-screen messages from the system or other apps. It’s a great feature for times when you want to watch a video or are using the Fire for some other activity where you don’t want any interruptions.
The second row icons, from left to right, are for camera (to go to the camera screen/function), Help, Auto-Rotate selector/indicator (on by default, tap to turn it off if you want your tablet’s orientation locked), and Settings, to access the main Settings menu.
At the bottom you’ll see indicators for any recent/current activity, as well as any uncleared alerts (e.g., you’ve got new email, you successfully took a picture, there’s an app update available, etc.). For alert items, there will be a “Clear All” link shown below the list of alerts; tap it to clear the alert history.
Basic Navigation & Controls
Swipe left or right to move among the content type screens listed on the top menu ribbon (e.g., Recent, Home, Books, Video, Games, etc.). You can also tap on the menu link for any content type to go to that content type screen.
Within a content screen, swipe up or down to scroll for viewing all available screen content within that one screen.
Use the external volume up/down rocker switch for volume control. Note that the volume will automatically adjust downward when you insert headphones, and will automatically adjust back up when you unplug headphones.
Another cool feature: the volume rocker switch changes its orientation as you rotate the screen. When in portrait mode, the button to the right on the rocker is for volume up and the one to the left is for volume down. In landscape orientation, the top of the rocker switch is for volume up and the bottom is volume down, but if you rotate the tablet completely around, 180 degrees, the rocker will switch its orientation too so that the top of the rocker switch is still for volume up and the bottom is still for volume down, even though the switch is now upside-down compared to how it was oriented before you rotated the Fire.
The search bar at the top of the Home and Recent screens is an all-purpose search. It will look for your search terms within your own content, on the Amazon site, and on the web. If you tap a search result for a web page, the Silk browser will open automatically to load the page.
Coming Up Tomorrow: 2015 Fire tablet camera features and controls, Silk browser features and controls**.
**technical difficulties prevented my coverage of the Silk Browser on 9/30/15; I hope to address it in a new post on 10/1/15.
* * *
Tech Tip of the Week: Be Reasonable About The Limitations Of Tech
* * *